Texture Blending: Difference between revisions
Justin113D (talk | contribs) Provided more info on interpolation |
Justin113D (talk | contribs) m Spelling |
||
| Line 115: | Line 115: | ||
|} | |} | ||
== Detail | == Detail blending == | ||
Detail textures are used to add extra detail to a color texture, usually used with with [[#Distance Blending|distance blending]]. | Detail textures are used to add extra detail to a color texture, usually used with with [[#Distance Blending|distance blending]]. | ||
Latest revision as of 18:10, 22 August 2025
Texture Blending
This page documents the different ways two textures can be blended.
Interpolation
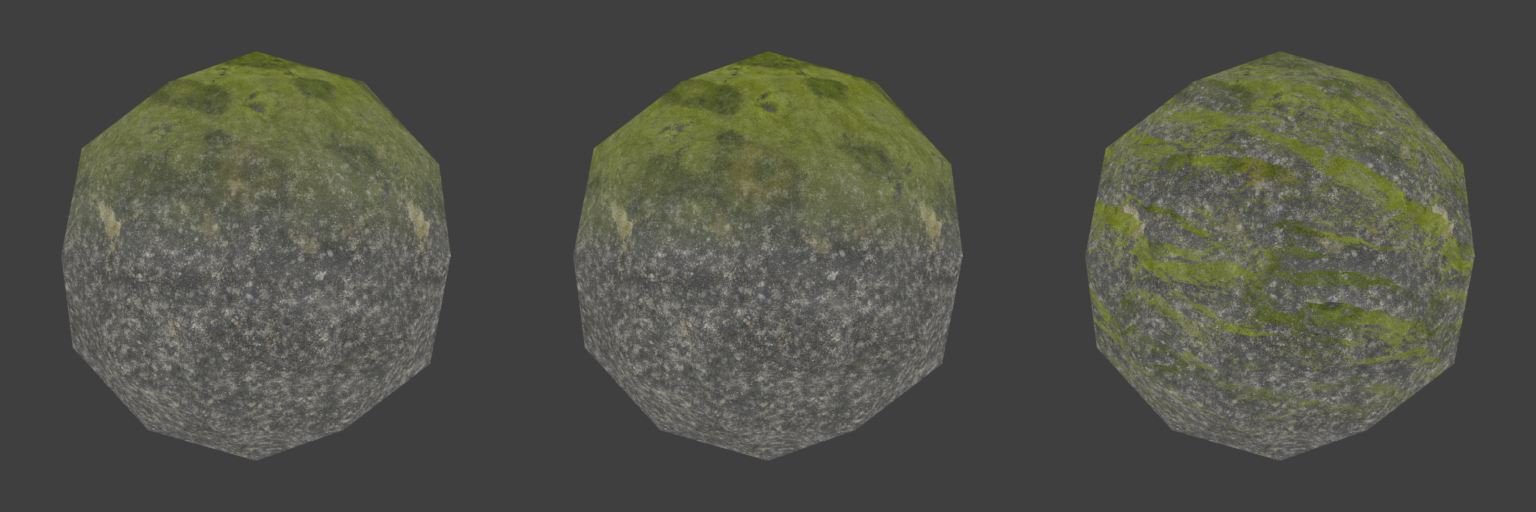
Interpolation, specifically linear interpolation (or "lerping") uses a "blend factor" parameter to decide which of two textures should be more visible.
When "Interpolating from a to b using x" then
awill be 100% visible whenxis0bwill be 100% visible whenxis1awill be 50% visible, andbwill be 50% visible whenxis0.5awill be 25% visible, andbwill be 75% visible whenxis0.75
and so fourth.
Textures that provide a blend factor are usually referred to as "masks".

As you can see, this behavior is basically like using the mask texture as the second images alpha channel, and then overlaying them.
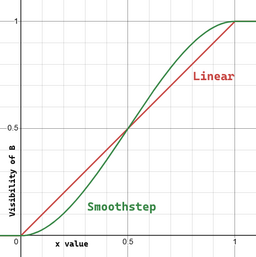
Smoothstep
Usually "interpolating" refers to "linearly interpolating", but there are non-linear ways to interpolate between two textures too.
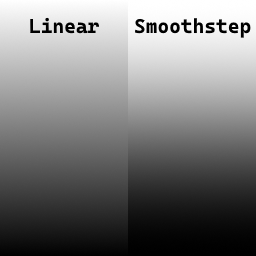
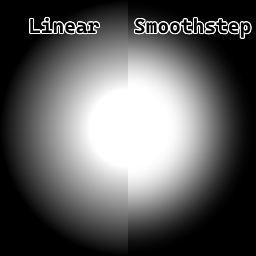
The most common non-linear way to interpolate is by using "smooth Hermite interpolation" (often referred to as just "smoothstep").
Directional blending
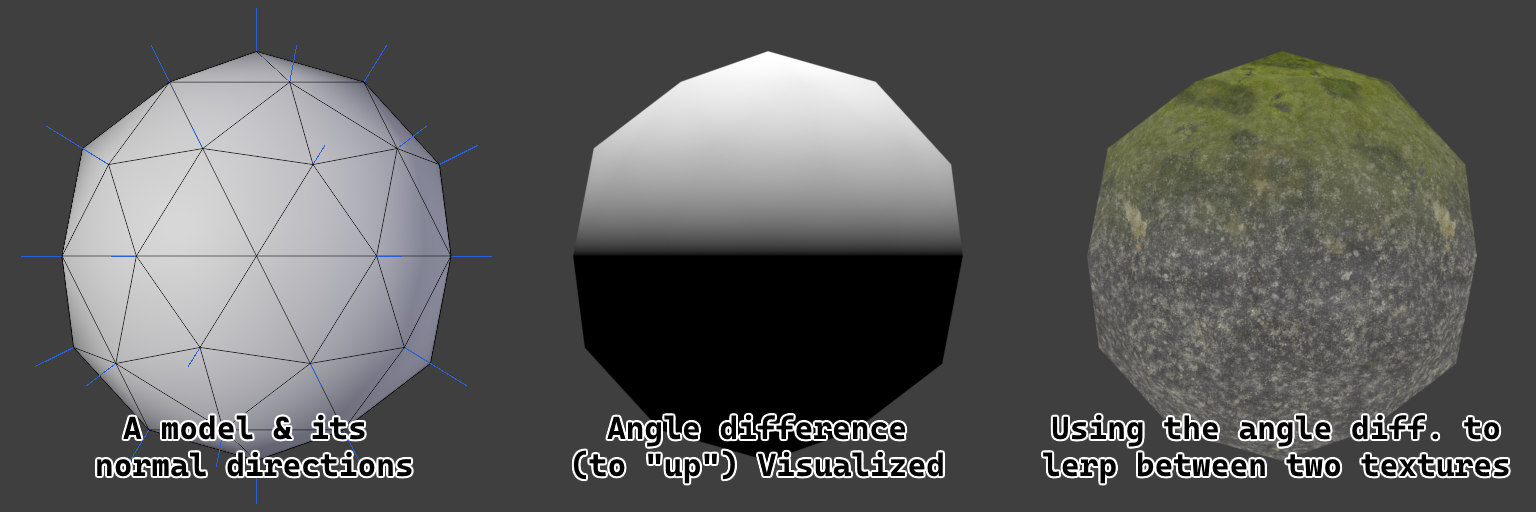
Directional blending involves using the normal directions of a model and a "target direction" to then calculate the angle between those two directions and using that as the blending factor for interpolate between two textures.
- When the target direction points in the same direction as the models normal direction, then the blending factor is 1
- The closer the models normal direction rotates away from the target direction, the closer the blending factor gets to 0
- At a 90° difference, the blending factor reaches 0
- Below 90°, the blending factor turns negative (reaching -1 at 180°), but this value gets rounded up to 0
Variables
The blend factor can also be altered by various variables that game-shaders usually make use of:
| Name | Description |
|---|---|
| Bias | Used to shift the blend factor closer to either end, where
|
| Blend limit | Limits the blend factor to a value |
| Blend intensity | Changes how quickly the blend factor reaches a value of 1; Works similar to the bias, where 0.5 is the unchanging "center". |
| Blend offset | A value added after all other parameters that moves the "starting point" of the factor. |
Examples
Distance blending
By using the distance between the camera and the surface to render as the blend factor, you can blend between textures depending on how far away the camera is.
Usually when doing this, a range is specified before which the blend factor is 0 and after which it is 1, e.g. starting to blend a texture in when 100 units away and making it fully visible at 50 units.
Normal map blending
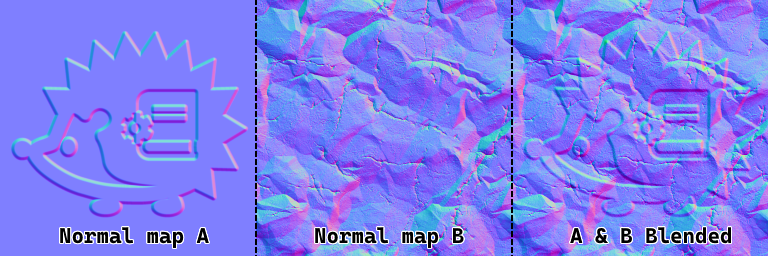
This is used to combine two normal maps:
| The math behind |
|---|
Normal maps are combined like this using a simple function:
float3 BlendNormals(float3 a, float3 b)
{
    a += float3(0, 0, 1);
    b *= float3(-1, -1, 1);

    return a * dot(a, b) / a.z - b;
}
|
Detail blending
Detail textures are used to add extra detail to a color texture, usually used with with distance blending.
A detail textures default color is a perfect gray (RGB values of 0.5, or #808080), at which the color texture is applied to will not change. Colors darker than this gray will darken the main texture, and lighter ones will brighten it.
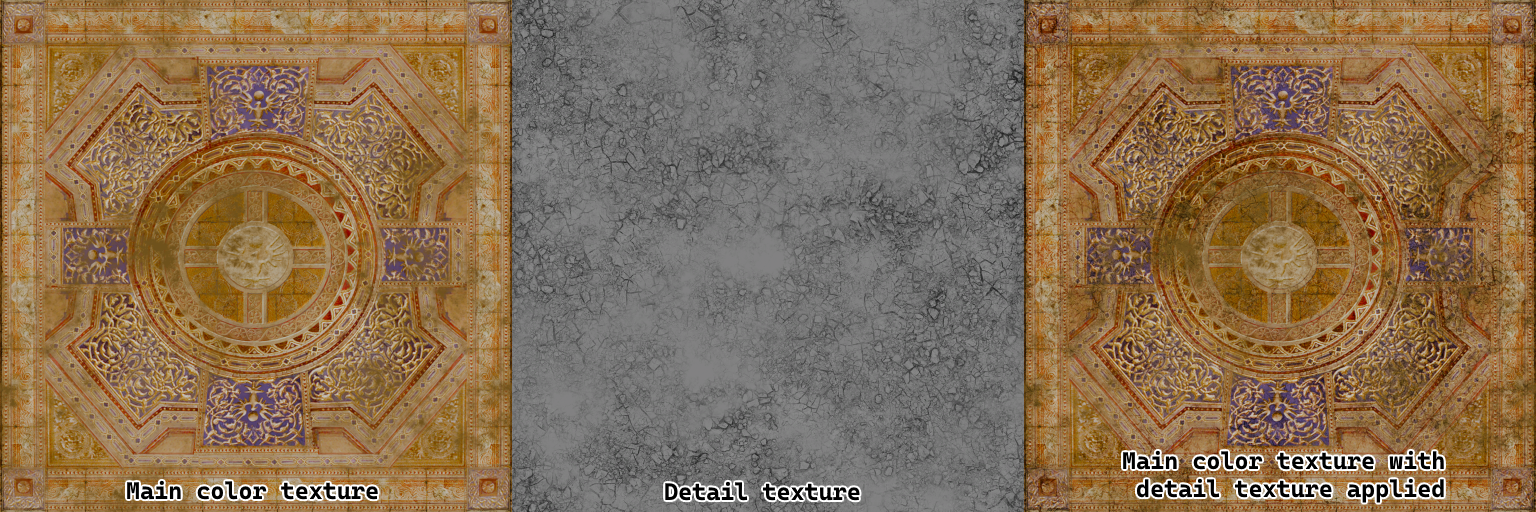
w13_dtd_floor02_dfsp_y_mm1_abd and w13_dtd_floor02_dfsp_y_mm1_detail_abd from Shadow Generations being combined using detail blending| The math behind |
|---|
A detail texture is blended into a main texture using this function:
float3 BlendDetail(float3 main, float3 detail)
{
	float3 positive = detail * main * 2;
	float3 negative = 1 - (1 - detail) * ((1 - main) * 2);
	bool3 check = main < 0.5;

	return check ? positive : negative;
}
|
